How to release TypeScript package to NPM using CI/CD without losing your hair
Thu Jan 14 20219 min read
The pain of setting up a TypeScript Project 🤯
No matter how many times I have setup a TypeScript Project from scratch, every time I struggle to get it right. I always end up referring my previous projects and few google searches here and there till I get it working. When yarn start is finally working and I feel so proud of myself for first 5 minutes, the happiness doesn’t last long till I add my first few lines of code and everything seems to blow up 🙁
Lets accept it, setting up a TypeScript project from scratch is notoriously difficult. There are so many configurations and it is so easy to get things messed up. Even if you manage to setup the project correctly, how do you make sure you bundle your package correctly? In this post, we will try to setup a baseline project which can be used as a template for any npm package.
So let’s get started.
Scope of work
Before we start, lets decide what we want to achieve.
- We will try to create a simple React package called -
fancy-buttons(Even though there is nothing fancy about them !!! ) - We will bootstrap the project to use
TypeScript - We would like to unit test our components using
Jest - We will like to use
Storybookto visually display our component - We would like a simple webpage which explains our
fancy-buttons - We will like to publish our package to
NPM - We would like to setup
CI/CDso that everything is seamless
Setting up
TSdx to the rescue
Someone finally heard the cries of TypeScript Developers around the world and decided to come up with TSdx. TSdx defines itself as - TSDX is a zero-config CLI that helps you develop, test, and publish modern TypeScript packages with ease—so you can focus on your awesome new library and not waste another afternoon on the configuration.
And truly it is freaking sweet !!! No more hours of painful configurations and googling for cryptic errors. All the goodness without any of the pain. Thank you Jared Palmer
Creating the project
Project setup is pretty straight-forward.
npx tsdx create fancy-buttonsChoose react-with-storybook when prompted and that’s it.
Status Check
Just to make sure everything is setup properly, let’s make sure we can access everything.
In first terminal, lets start the dev build.
yarn startIn second terminal, lets start the storybook
yarn storybookIn third terminal, lets start our simple webpage
cd example

yarn

yarn start
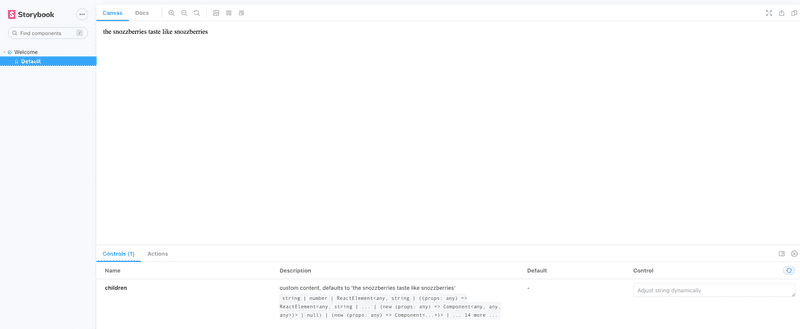
If everything is setup correctly, you should see something like this:
Dev Terminal
Storybook on localhost:6006
Example Webpage on localhost:1234
Setting up Github Project
With the initial setup done, now lets push our code to Github.
After creating a empty project in Github, lets sync the project.
# Initialize git
git init

# Stage files
git add .

# Commit the changes
git commit -m "Initial Commit"

# Connect remote repo
git remote add origin git@github.com:debojitroy/fancy-buttons.git

# Push changes
git push --set-upstream origin master
After the last command, you should be able to see your files in Github.
Starting Development
Adding Bootstrap
As our buttons are not so fancy, so lets not re-invent the wheel and use Bootstrap for styling.
yarn add bootstrap --devMake sure to add bootstrap in peer dependency in package.json, so that styling doesn’t break when someone adds our package.
Adding basic Button
Now we can start adding the actual logic for button.
Let’s change our src/index.tsx to add some actual button logic.
import React, { FC, HTMLAttributes } from "react"

export interface Props extends HTMLAttributes<HTMLButtonElement> {
  text: string
}

export const Button: FC<Props> = ({ text }) => {
  return (
    <button type="button" className="btn btn-primary">
      {text}
    </button>
  )
}
We are using Bootstrap for our styling.
Updating Storybook
Now we need to update our stories to use the new Button.
Rename the default story to Button.stories.tsx
import React from "react"
import { Meta, Story } from "@storybook/react"
import { Button, Props } from "../src"

const meta: Meta = {
  title: "Button",
  component: Button,
  argTypes: {
    text: {
      type: "text",
    },
  },
  parameters: {
    controls: { expanded: true },
  },
}

export default meta

const Template: Story<Props> = args => <Button {...args} />

export const Primary = Template.bind({})

Primary.args = { text: "Primary" }
Let’s not forget to import our Bootstrap css. Add the import under .storybook/preview.js
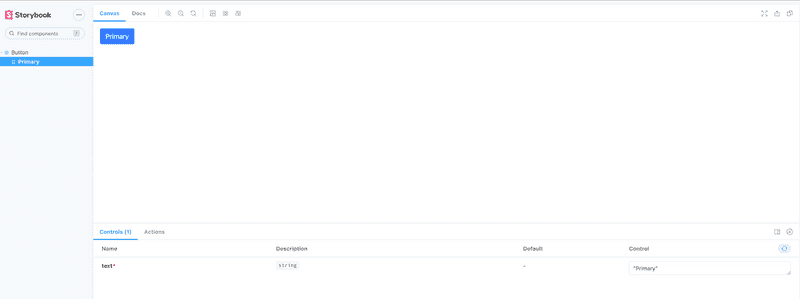
import "bootstrap/dist/css/bootstrap.min.css"Now if we run storybook, we should see our default Button
yarn storybookUpdating the Example Page
Now we would like our Package homepage also to reflect the correct components, so let’s update that as well.
First, make sure we add bootstrap in the alias section of example/package.json
"bootstrap": "../node_modules//bootstrap"Then, lets update example/index.tsx
import "bootstrap/dist/css/bootstrap.min.css"
import "react-app-polyfill/ie11"
import * as React from "react"
import * as ReactDOM from "react-dom"
import { Button } from "../."

const App = () => {
  return (
    <section className="container">
      <h2 className="mb-5">Fancy Buttons</h2>
      <div className="row">
        <div className="col">
          <h4 className="mb-3">Primary Button</h4>
          <p>This is a Primary Button</p>
          <Button text="Primary" />
        </div>
      </div>
    </section>
  )
}

ReactDOM.render(<App />, document.getElementById("root"))
Running the Example page should reflect our component.
# Inside example folder
yarn start
Updating Tests
Last thing before we can check-in our code is to make sure the tests are passing. With our current changes, are tests are surely broken.
Also, we would like to use testing-library for our tests, so lets add it to our dependencies.
# Add testing-library for react
yarn add @testing-library/react --dev

# Extend the Jest Dom types for TypeScript
yarn add @testing-library/jest-dom --dev
Now we can go ahead and update our tests.
Rename test/blah.test.tsx to test/button.test.tsx
Then update the tests.
import React from "react"
import { render, screen } from "@testing-library/react"
import "@testing-library/jest-dom/extend-expect"
import { Button } from "../src/index"

describe("Button", () => {
  it("renders without crashing", () => {
    render(<Button text="Primary" />)

    expect(screen.getByRole("button")).toBeInTheDocument()
    expect(screen.getByRole("button")).toHaveTextContent("Primary")
  })
})
Run the tests
yarn testAnd they should pass.
 PASS  test/button.test.tsx
  Button
    ✓ renders without crashing (82ms)

Test Suites: 1 passed, 1 total
Tests:       1 passed, 1 total
Snapshots:   0 total
Time:        3.657s
Ran all test suites.
Releasing to NPM
Preparing the repo for release
Now we are confident our code works and we would like to do a small release. Since the features are not yet confirmed, we would like to make our releases 0.x, which tells the user that the package is still under active development and things can change anytime.
Before we go ahead with the release, let’s add some files to make our package complete.
Adding CHANGE LOG
Though it is not mandatory, it is a good practice to add a Change Log to our repository. This change log will have details about every release we make.
Updating package name
As the name fancy-buttons is already taken and we don’t want people to get disappointed after downloading this package, lets rename our package to fancy-buttons-npm-template so that no one uses it by mistake.
Generating NPM Token
Before we can start publishing to NPM, we need a token for our pipeline.
To generate a token
- Login to npm
- Go to Access Tokens
- Generate a
Automationtoken - Add the new token to Github Secrets as
NPM_TOKEN
Adding Github Action for release
Whenever a release is created, we would like to do the following
- Install Dependencies
- Run Tests
- Publish to NPM
We will create a new action called release.yml under .github/workflows
name: Release
on:
  release:
    types: [created]
jobs:
  build:
    runs-on: ubuntu-latest
    steps:
      - name: Checkout repo
        uses: actions/checkout@v2

      - name: Setup .npmrc file to publish to npm
        uses: actions/setup-node@v1
        with:
          node-version: "12.x"
          registry-url: "https://registry.npmjs.org"

      - name: Install deps and build (with cache)
        run: yarn

      - name: Run Unit Tests
        run: yarn test --ci --coverage --maxWorkers=2

      - name: Publish to NPM
        run: yarn publish
        env:
          NODE_AUTH_TOKEN: ${{ secrets.NPM_TOKEN }}
Doing a Github Release
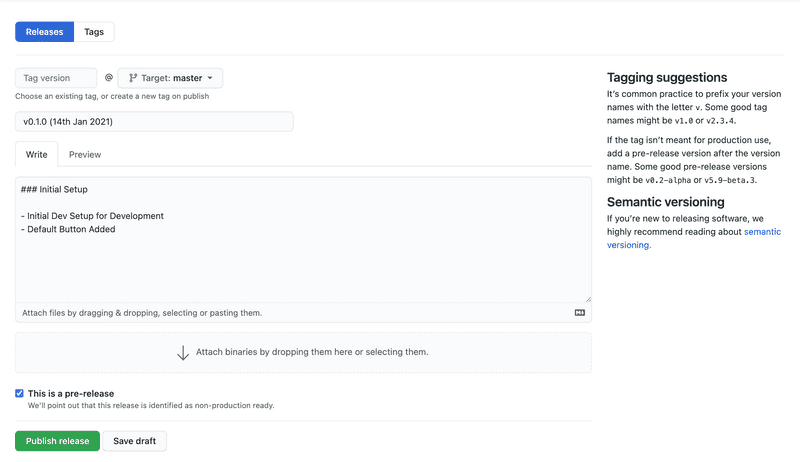
Managing a release from Github is very easy. Follow these steps to prepare a release.
Click on Tags
Click on Create a new Release
Create a new release
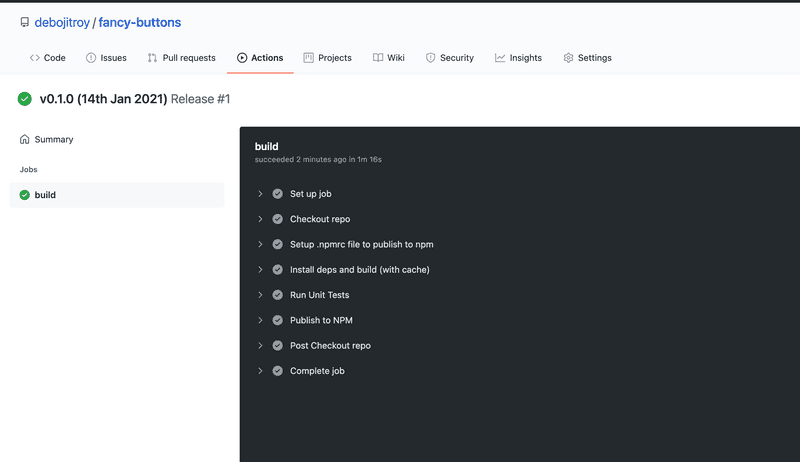
Verify the CI is successful
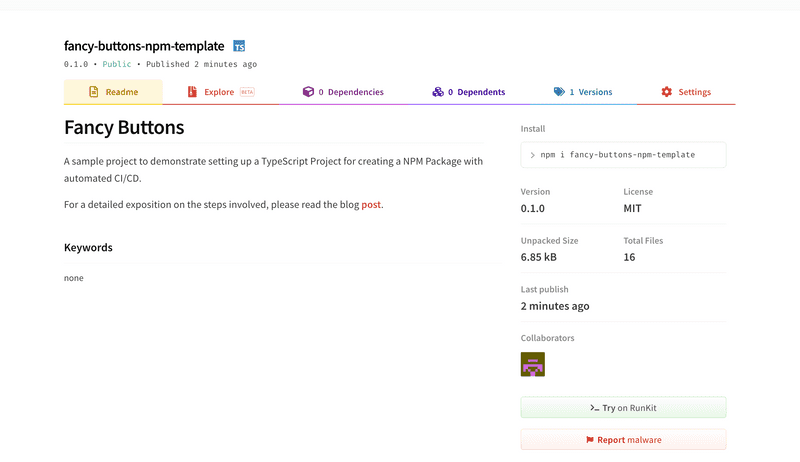
Verify your release is available in NPM
You can verify the package exists here
Now you know how to setup a TypeScript project from scratch for your next great idea for an NPM package with automated CI/CD. Happy coding 😄
Repository for this post is available here


